Step-by-Step Coding Our To-Do List App
Step-by-Step Implementation
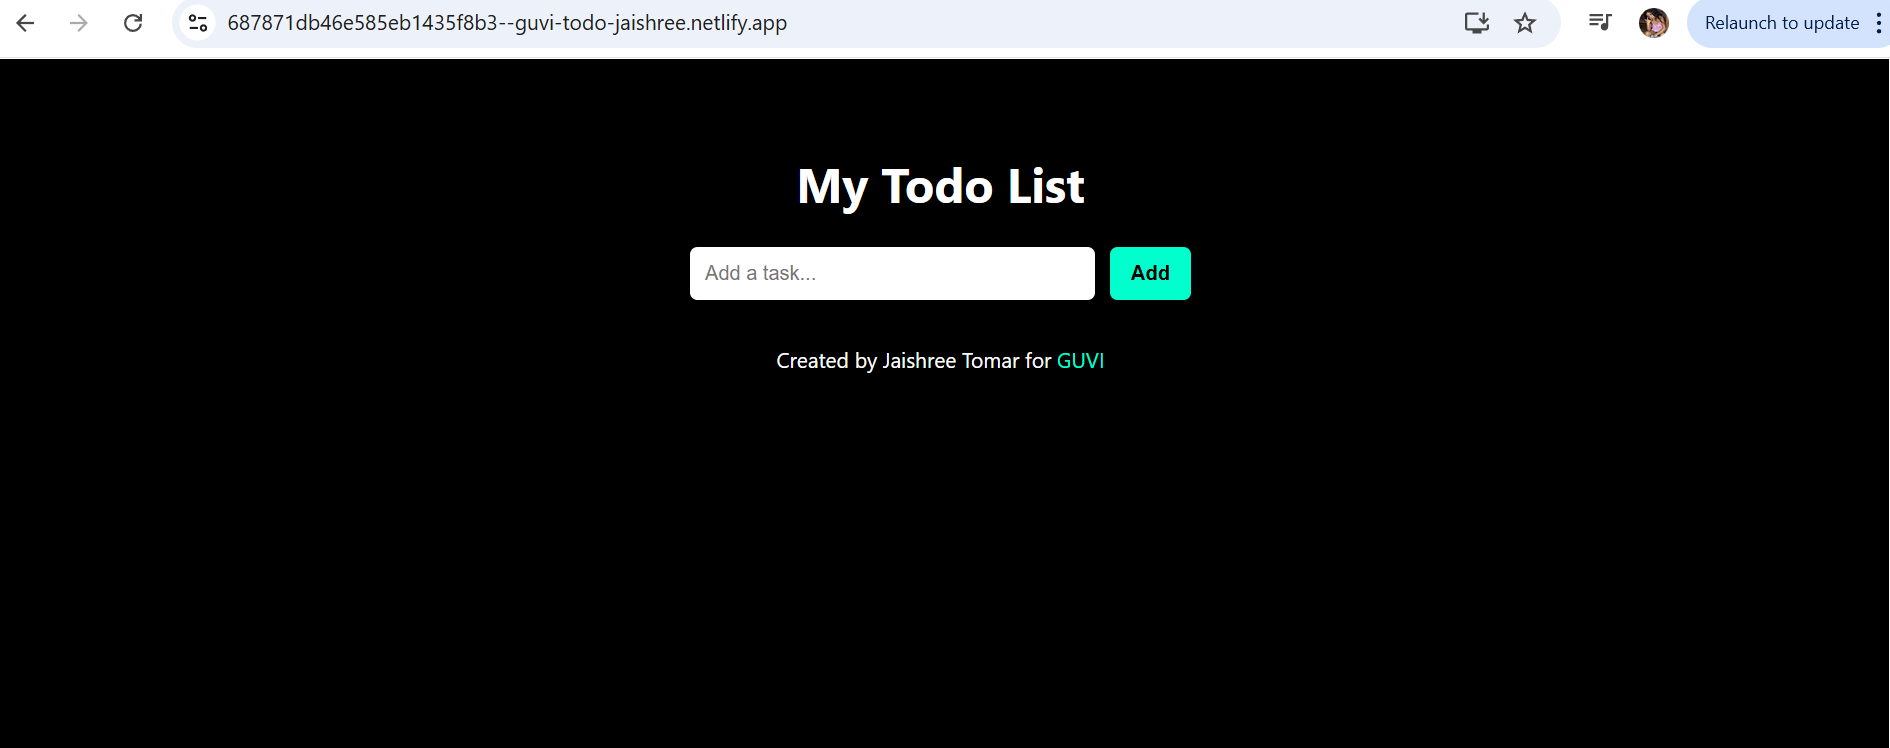
Now it’s time to start building! In this module, we’ll walk through setting up the environment, organizing your project structure, and writing clean, functional code using React. By the end, you’ll have a working To-Do List app that lets users add, complete, edit, and delete tasks—all in real-time.
Set Up the Environment
Let’s start with preparing your development setup:
Step 1: Install Node.js
If you haven’t already, install Node.js (LTS version) from https://nodejs.org. It comes bundled with npm, which helps manage packages.
After installation, verify by running:
node -v
npm -v
Step 2: Create the React App
Use create-react-app to bootstrap your project. In your terminal:
npx create-react-app todo-app
cd todo-app
This command generates a starter React project with all configuration files already set up.
Create Application Structure (Directory Overview)
Once create-react-app finishes installing, your folder structure will look like this:
todo-app/
├── public/
│ └── index.html # HTML template with <div id="root">
├── src/
│ ├── App.js # Main React component
│ ├── App.css # Global styles for the app
│ ├── index.js # Entry point (renders App)
│ └── ... # Default boilerplate files
├── package.json # Lists dependencies and scripts
└── README.md
We will build everything in just App.js and App.css—keeping it beginner-friendly and focused.
No extra components are required here, as the app is small enough to be handled in a single file with clean logic.
Step-by-Step Coding
Time to code! Open App.js inside src/ and replace its content with the following:
// src/App.js
import React, { useState } from 'react';
import './App.css';

function App() {
  const [todos, setTodos] = useState([]);
  const [inputValue, setInputValue] = useState("");

  const addTodo = () => {
    if (inputValue.trim() !== "") {
      setTodos([...todos, { text: inputValue, completed: false }]);
      setInputValue("");
    }
  };

  const toggleTodo = (index) => {
    const newTodos = [...todos];
    newTodos[index].completed = !newTodos[index].completed;
    setTodos(newTodos);
  };

  const deleteTodo = (index) => {
    const newTodos = [...todos];
    newTodos.splice(index, 1);
    setTodos(newTodos);
  };

  const editTodo = (index) => {
    const newText = prompt("Edit the todo:", todos[index].text);
    if (newText !== null && newText.trim() !== "") {
      const newTodos = [...todos];
      newTodos[index].text = newText;
      setTodos(newTodos);
    }
  };

  return (
    <div className="App">
      <h1 style={{ color: 'white' }}>My Todo List</h1>
      <div style={{ marginBottom: '20px' }}>
        <input
          type="text"
          placeholder="Add a task..."
          value={inputValue}
          onChange={(e) => setInputValue(e.target.value)}
        />
        <button onClick={addTodo}>Add</button>
      </div>
      <ul>
        {todos.map((todo, index) => (
          <li key={index} style={{
            textDecoration: todo.completed ? 'line-through' : 'none',
            color: todo.completed ? 'gray' : 'white',
            display: 'flex',
            alignItems: 'center',
            justifyContent: 'space-between',
            marginBottom: '10px'
          }}>
            <input
              type="checkbox"
              checked={todo.completed}
              onChange={() => toggleTodo(index)}
              style={{ marginRight: '10px' }}
            />
            {todo.text}
            <div>
              <button onClick={() => editTodo(index)}>✏️</button>
              <button onClick={() => deleteTodo(index)}>🗑️</button>
            </div>
          </li>
        ))}
      </ul>
      <footer style={{ marginTop: '30px', color: 'white' }}>
        Created by Jaishree Tomar for <a href="https://www.guvi.in" style={{ color: '#00ffcc' }} target="_blank" rel="noopener noreferrer">GUVI</a>
      </footer>
    </div>
  );
}

export default App;
What this code does:
- useState([]): Stores the list of todos
- useState(""): Stores user input as text
- addTodo(): Adds a task only if input isn’t empty
- toggleTodo(): Marks a task completed or not
- editTodo(): Prompts user to update task text
- deleteTodo(): Removes a task from the list
- JSX loops through all todos using map() and displays them as list items with checkboxes and action buttons.
Styling the App with CSS
Now, let’s make it look clean and polished.
In the same src/ folder, open or create App.css and replace the contents with:
/* src/App.css */

body {
  margin: 0;
  padding: 0;
  font-family: 'Segoe UI', Tahoma, Geneva, Verdana, sans-serif;
  background-color: black;
}

.App {
  text-align: center;
  background-color: black;
  min-height: 100vh;
  padding: 40px 20px;
  color: white;
}

input[type="text"] {
  padding: 10px;
  width: 250px;
  border: none;
  border-radius: 5px;
  outline: none;
}

button {
  margin-left: 10px;
  padding: 10px 14px;
  background-color: #00ffcc;
  border: none;
  border-radius: 5px;
  color: black;
  font-weight: bold;
  cursor: pointer;
  transition: background-color 0.3s;
}

button:hover {
  background-color: #00ccaa;
}

ul {
  list-style: none;
  padding: 0;
  max-width: 600px;
  margin: 0 auto;
}

li {
  background-color: #1e1e1e;
  margin-bottom: 10px;
  padding: 12px 20px;
  border-radius: 8px;
  display: flex;
  justify-content: space-between;
  align-items: center;
  color: white;
  transition: transform 0.2s;
}

li:hover {
  transform: scale(1.02);
}

input[type="checkbox"] {
  transform: scale(1.3);
  margin-right: 12px;
}

footer {
  margin-top: 40px;
  font-size: 14px;
}

footer a {
  color: #00ffcc;
  text-decoration: none;
}

footer a:hover {
  text-decoration: underline;
}
This CSS:
- Sets a dark background
- Styles the task input, buttons, and list items
- Adds hover effects for interactivity
- Keeps the layout responsive and clean
Run and Test Locally
To run your project locally:
In the terminal, go to your project folder:
cd todo-app
Start the development server:
npm start
This will launch your app in the browser at:
Now, try:
- Adding a task
- Checking it off
- Editing with ✏️
- Deleting with 🗑️
You’ve just built a fully functional React To-Do List!


