Basic Requirements for our Weather App
Pre-requisites & Tech Stack Used
Before we begin coding our weather forecasting app, it's important to understand the tools we'll be working with and what setup is needed on your machine. In this module, we’ll go over the system requirements, development tools, and the technologies powering the app.
Basic Requirements
To successfully build and run this React app, ensure the following are installed and ready on your system:
1. Node.js and npm: Node.js is the JavaScript runtime that allows you to run JavaScript code outside the browser. Along with it comes npm, the Node package manager that helps you install libraries like React and other dependencies. Once installed, confirm the installation using these commands in your terminal or command prompt:node -v
npm -v
2. Code Editor: You'll need a text editor to write and manage your project files. Visual Studio Code is highly recommended for this.
3. Modern Web Browser: Use the latest version of Chrome, Firefox, or any modern browser to run and test your application smoothly.
4. Git (Optional): While not strictly required to build the app, Git is useful for version control and pushing code to GitHub. It also comes in handy during deployment if you’re using platforms like Vercel.
Verify installation by running:
git --version
5. Netlify Account for Deployment: You’ll use Netlify to host and deploy your app. The free plan is more than enough for this project.
Once you have everything set up, you’re ready to start working on the actual app.
Tech Stack Used
This weather app is built using a modern web development stack that’s beginner-friendly and widely used in the industry. Here's a quick overview of what technologies we use and why:
- ReactJS: React allows us to break the UI into reusable components and manage state using hooks like useState and useEffect.
- JavaScript (ES6): JavaScript powers all the logic behind the scenes. Features like arrow functions, async/await, and fetch are used to build dynamic behavior.
- HTML and CSS: HTML structures the app's content, while CSS styles it. We use custom fonts, a dark background, and animations to make the app visually appealing.
- OpenWeatherMap API: We use this free API to fetch real-time weather data based on the city name entered by the user. It returns the current temperature, weather condition, and other useful information in JSON format.
- Node.js and npm: These provide the underlying environment to run our app locally and install dependencies like React.
- Netlify: We use Netlify to deploy our app online with just a simple drag and drop. It’s one of the easiest deployment platforms for beginners.
Input
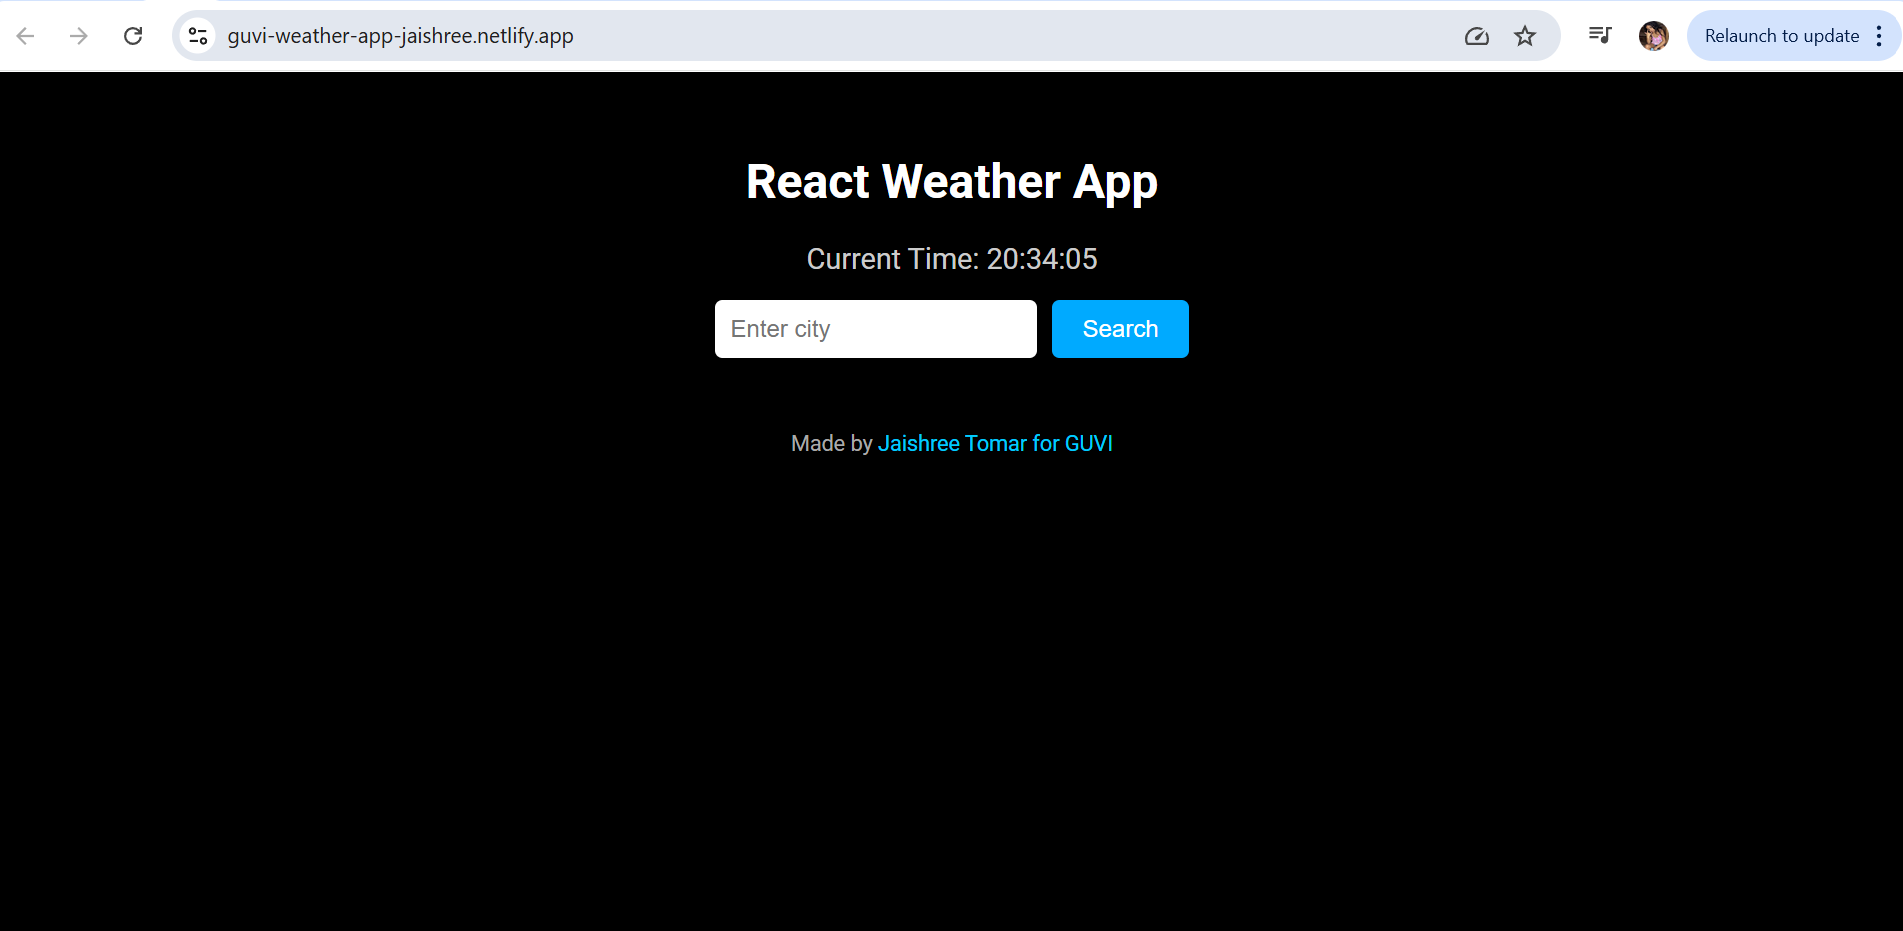
This app takes a single input from the user — the name of the city they want weather information for. This is done through a simple input field in the UI. When the user types the city name and clicks the Search button, it triggers a function that sends a request to the OpenWeatherMap API.
This input is captured and stored using the useState hook in React.
Output
The output is the weather information fetched from the API, which includes:
- The name of the city entered
- The current temperature in Celsius
- The general weather condition (such as Clear, Rain, Clouds)
- An appropriate animated weather icon based on the condition
- The real-time current time
- A footer message with credit
All of this is rendered dynamically using React and updated every time the user searches for a new city.


