Step-by-Step Coding of the Digital Clock App
Implementation Steps of Digital Clock App
Now we build the React digital clock step by step: setting up the project, understanding the directory structure, and writing each file.
Set up the Environment
Install Node.js: Download and install Node.js (which includes npm) from nodejs.org. Verify installation:
node -v # should print a version (e.g., v20.6.0)
npm -v # should print a npm version
Create React App:
In a terminal, navigate to your projects folder and run:
npx create-react-app digital-clock
This uses the React CLI to scaffold a new React app named digital-clock. This command creates a directory digital-clock with all the initial files and dependencies.
Open in Editor:
Change into the new directory and open it in VS Code (or your editor):
cd digital-clock
Run the App:
To see the starter app, run:
npm start
This starts the development server. Open http://localhost:3000 in your browser – you should see the default React welcome page.
Lesson 2: Create Application Structure (Directory Structure)
The React app directory has this structure by default:
digital-clock/
README.md
node_modules/
package.json
public/
index.html
favicon.ico
... (other static assets)
src/
App.css
App.js
App.test.js
index.css
index.js
logo.svg
Key points:
- public/index.html is the HTML template (it has a <div id="root"></div> where our React app mounts).
- src/index.js is the JavaScript entry point that renders the React app.
- src/App.js is a sample root component, which we’ll modify.
- All React components and source code go in src/. Only files in src/ are processed by the build tool.
- You can delete unused files (like logo.svg) and add your own (we will add DigitalClock.js and some CSS files).
Coding the Files
1. public/index.html
This file is mostly boilerplate. It includes a <div id="root"></div>. No changes needed for our clock, but it’s important as the mounting point. (We don’t need a citation for standard HTML.)
2. src/index.js
This file renders the React root component into the DOM. Replace its contents with:
import React from 'react';
import ReactDOM from 'react-dom/client';
import App from './App';
import './index.css';  // Optional: global styles

const root = ReactDOM.createRoot(document.getElementById('root'));
root.render(
  <React.StrictMode>
    <App />
  </React.StrictMode>
);
Explanation: We import React and ReactDOM, plus our App component and CSS. We use createRoot() (for React 18+) to attach React to the root div in HTML. Then we render <App />. This sets up the app’s root. (No specific citation needed here.)
3. src/App.js
We modify App.js to use our DigitalClock component. Replace with:
import React from 'react';
import DigitalClock from './DigitalClock';
import './App.css';  // Import styles

function App() {
  return (
    <div className="App">
      <h1>React Digital Clock</h1>
      <DigitalClock />
    </div>
  );
}

export default App;
Explanation: The App component renders a heading and our <DigitalClock /> component. We will create DigitalClock.js next. The CSS file App.css (below) will center and style the content.
4. src/DigitalClock.js
Create a new file DigitalClock.js in src/ with this code:
import React, { useState, useEffect } from 'react';

function DigitalClock() {
  // State to hold current time
  const [time, setTime] = useState(new Date());

  useEffect(() => {
    // Set up interval to update time every second
    const timer = setInterval(() => {
      setTime(new Date());
    }, 1000);

    // Cleanup function: clear interval on unmount
    return () => {
      clearInterval(timer);
    };
  }, []); // Empty array = run once on mount

  return (
    <div className="time">
      {time.toLocaleTimeString()}
    </div>
  );
}

export default DigitalClock;
Explanation: We import useState and useEffect from React. We initialize a state variable time with the current date/time (new Date()). In the useEffect hook, we call setInterval every 1000 ms to update time to a new Date().
This triggers React to re-render the component each second. The useEffect hook runs only once when the component mounts (empty dependency array []), and its cleanup function clears the interval on unmount. This matches React’s recommended pattern for timers and side-effects. Finally, we display time.toLocaleTimeString(), which is a human-readable time (like "04:23:59 PM").
5. Styling (src/App.css or src/index.css)
Create or edit App.css (and/or index.css) with some basic styles:
/* index.css or App.css */
body {
  background-color: #000;
  color: #0F0;
  margin: 0;
  font-family: 'Courier New', monospace;
  display: flex;
  align-items: center;
  justify-content: center;
  height: 100vh;
}
.App h1 {
  margin-bottom: 20px;
}
.time {
  font-size: 60px;
}
Explanation: We set the background to black (#000) and text to green (#0F0) for a classic “digital clock” look. The content is centered vertically and horizontally. The time is large (60px). These are just example styles – feel free to adjust for a better UI.
6. Final Verification
Save all files. Run the app again with:
npm start
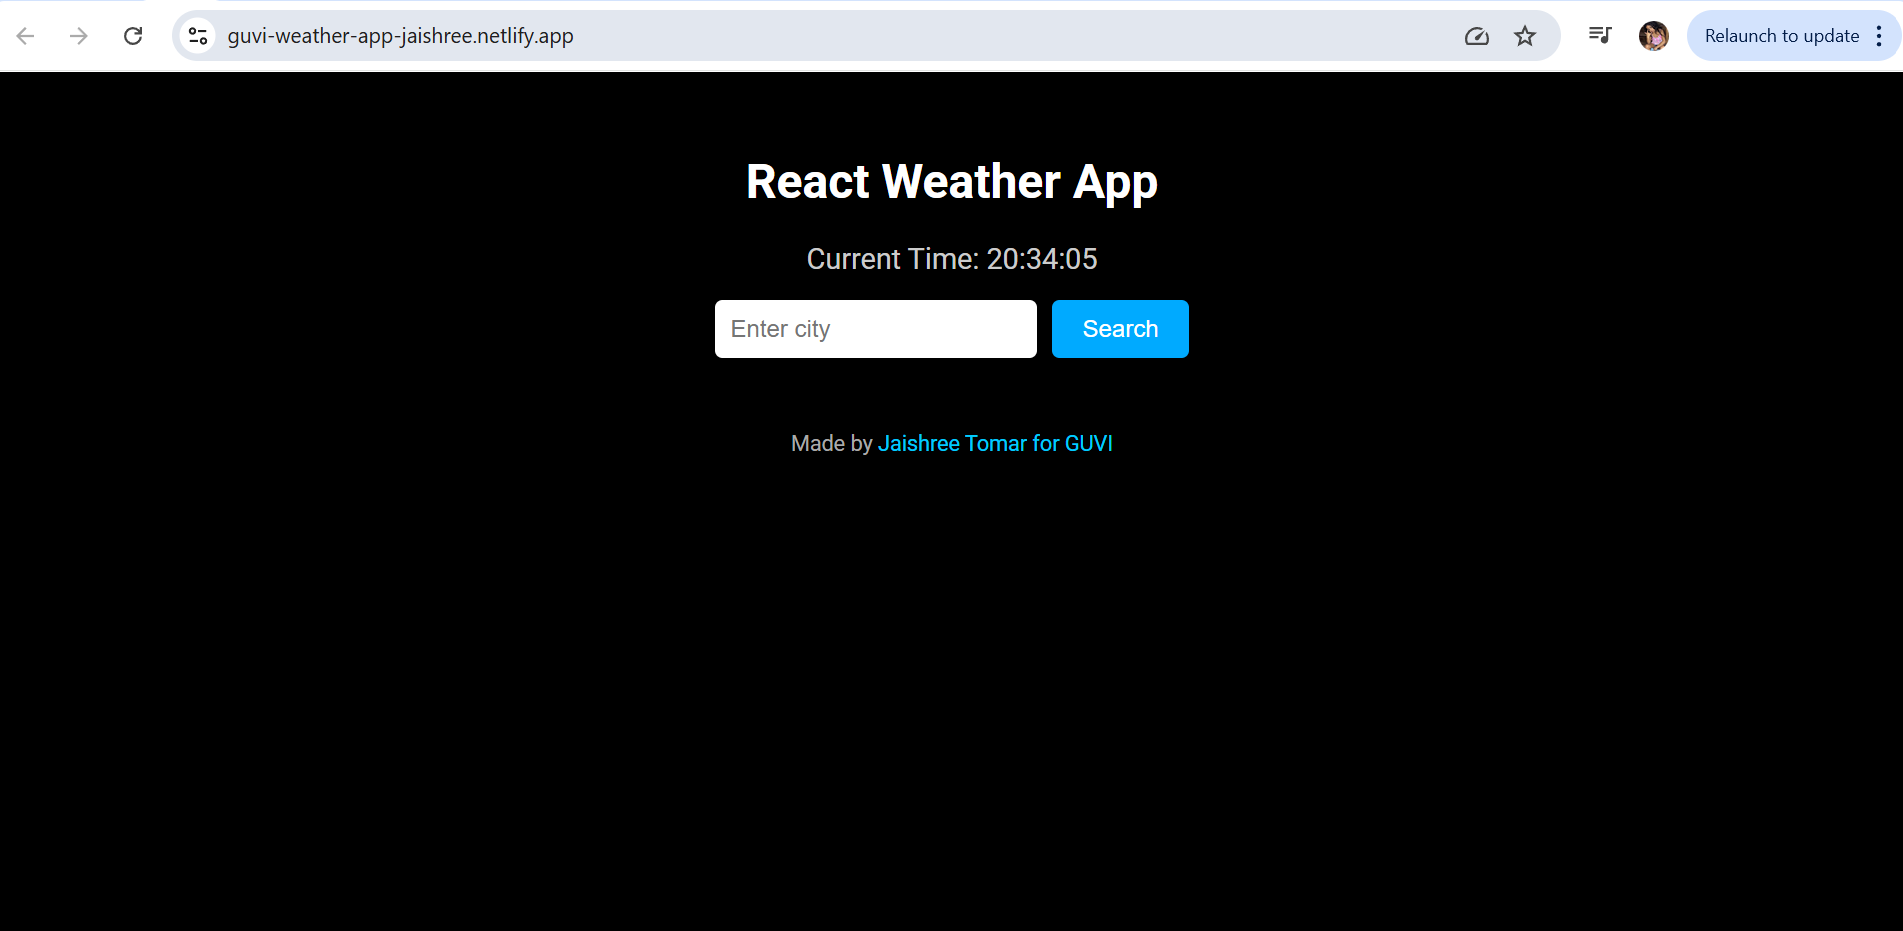
Your browser at http://localhost:3000 should now show a heading React Digital Clock and below it the current time in green text on black background, ticking every second. (If it doesn’t update, check the console for errors. The code above follows React’s timer pattern, so it should work.)
Now that our code is complete and tested locally, we can deploy it.


