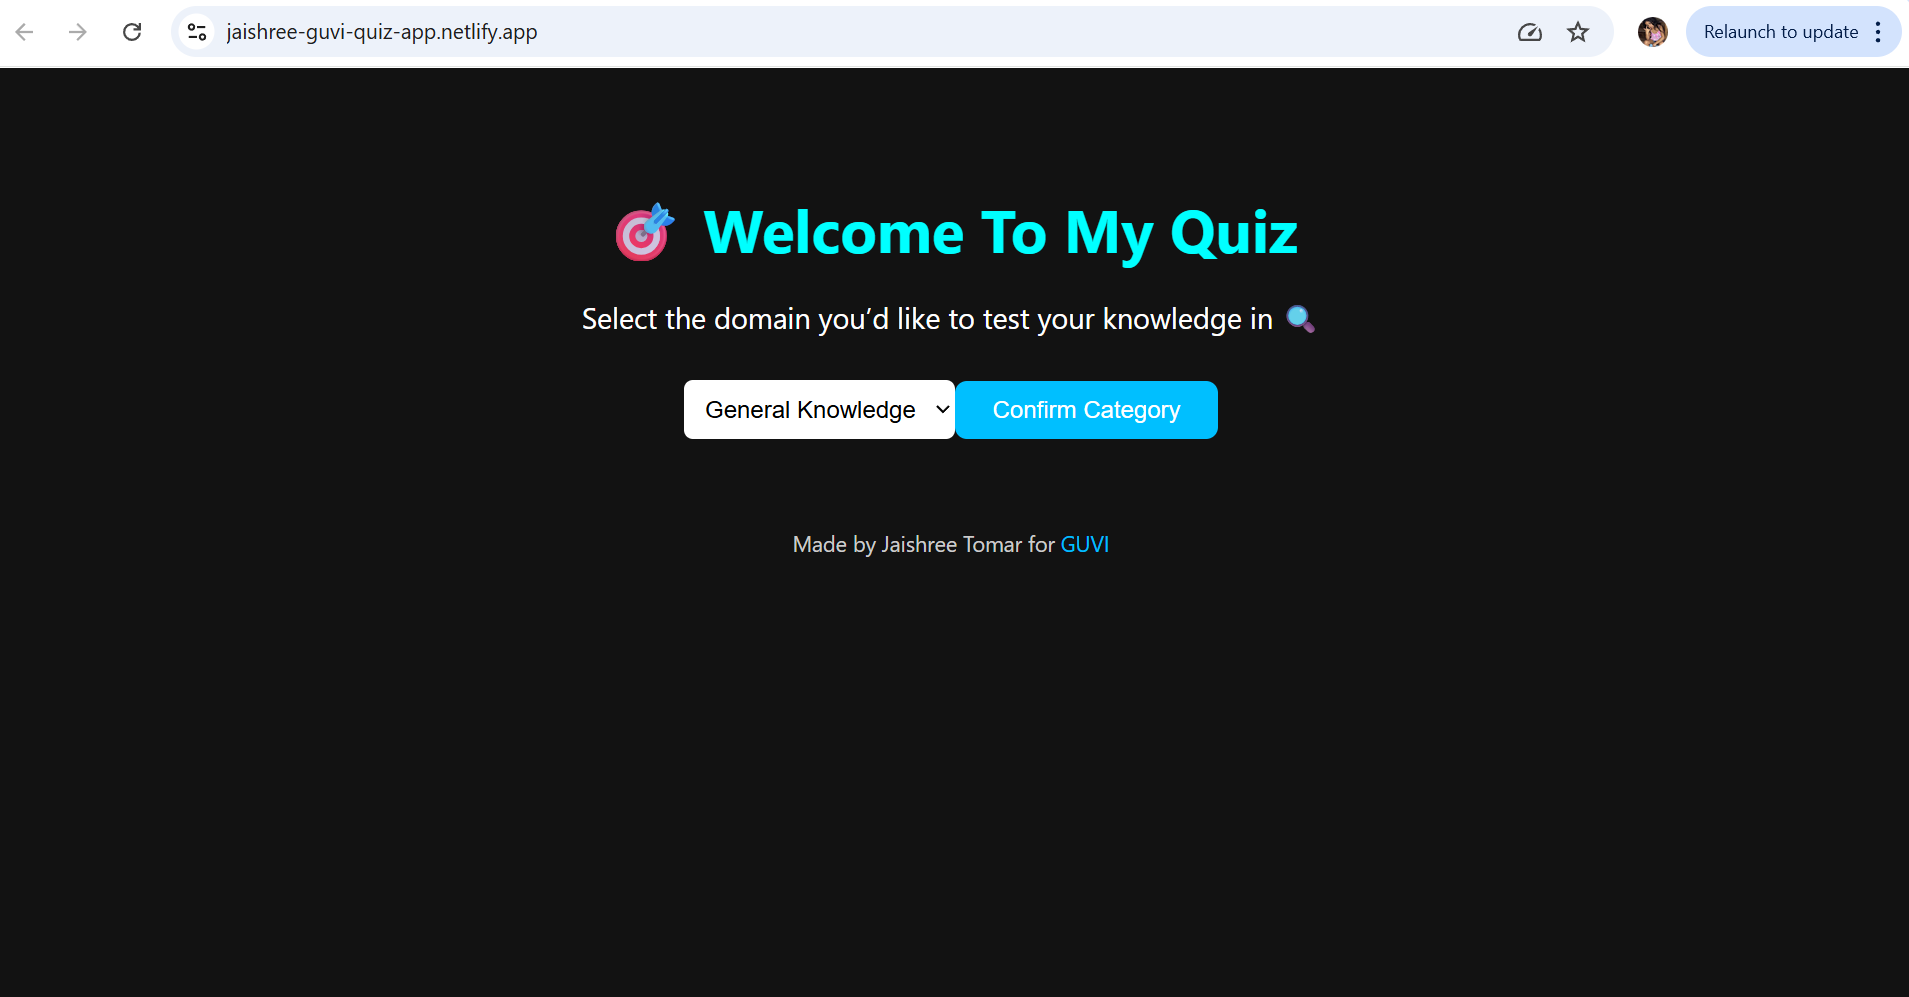
Deploying Your Quiz App to Netlify
Deploying Your Quiz App to Netlify
You’ve built a fully functional, animated, and interactive quiz app using React and Vite. Now it's time to take it live. In this module, we’ll walk through how to upload your project to GitHub and deploy it on Netlify so others can access it on the web. Along the way, we’ll also explain the final structure and how all components work together.
Pushing Your React App to GitHub
To safely store your code online and prepare it for deployment, you’ll first push it to GitHub.
Step 1: Initialize Git
Open your terminal in the root of your quiz app directory (where package.json is located), then run the following:
git init
git add .
git commit -m "Initial commit"
Step 2: Create a GitHub Repository
- Visit GitHub.com
- Click the + icon → New Repository
- Name it something like quiz-app-react
- Leave it empty (no README or .gitignore) and click Create repository
Step 3: Push to GitHub
Back in your terminal, run the following (replace your-username and repo URL):
git branch -M main
git remote add origin https://github.com/your-username/quiz-app-react.git
git push -u origin main
If this is your first time pushing to GitHub, you may be asked to configure your username and email:
git config --global user.name "Your Name"
git config --global user.email "your@email.com"
Once done, your project will be live on GitHub.
Deploying to Netlify
Now that your code is on GitHub, the next step is to deploy it using Netlify.
Step 1: Build the App
Vite makes it easy to create a production-ready version of your app. In the terminal, run:
npm run build
This will generate a dist/ folder containing all optimized files ready for deployment.
Step 2: Sign Up or Log Into Netlify
- Go to netlify.com
- Sign up for a free account (or log in)
- Click "Add New Site" → "Import an Existing Project"
Step 3: Connect GitHub and Select Repository
- Authorize Netlify to access your GitHub account
- Choose the quiz app repository you just pushed
Step 4: Configure Build Settings
Netlify will ask for build configuration. Enter the following:
- Build Command: npm run build
- Publish Directory: dist
Click Deploy Site and wait a few moments.
Once complete, Netlify will give you a random site URL like:
https://fancy-quiz-site.netlify.app/
You can rename it by going to Site Settings → Change Site Name. For example:
https://jaishree-guvi-quiz-app.netlify.app/
You did it! Your app is now live!


