Calculator Project : Live Demo & Learning Outcomes
Conclusion of the Calculator App
Learning Outcome
By completing this project, you have learned how to:
- Set up a React development environment (Node.js, Create React App).
- Create and structure a React application (folder layout with src, components, etc.).
- Build React components (functional components using JSX) for UI parts.
- Manage state in React using hooks (useState) to handle the calculator display and logic.
- Handle user events (button clicks) to update state and perform calculations.
- Implement arithmetic logic in JavaScript (including percentages and negation).
- Style a React app with plain CSS to create a clean interface.
- Push code to GitHub and deploy the app using Netlify.
Live Link & Output Screenshot
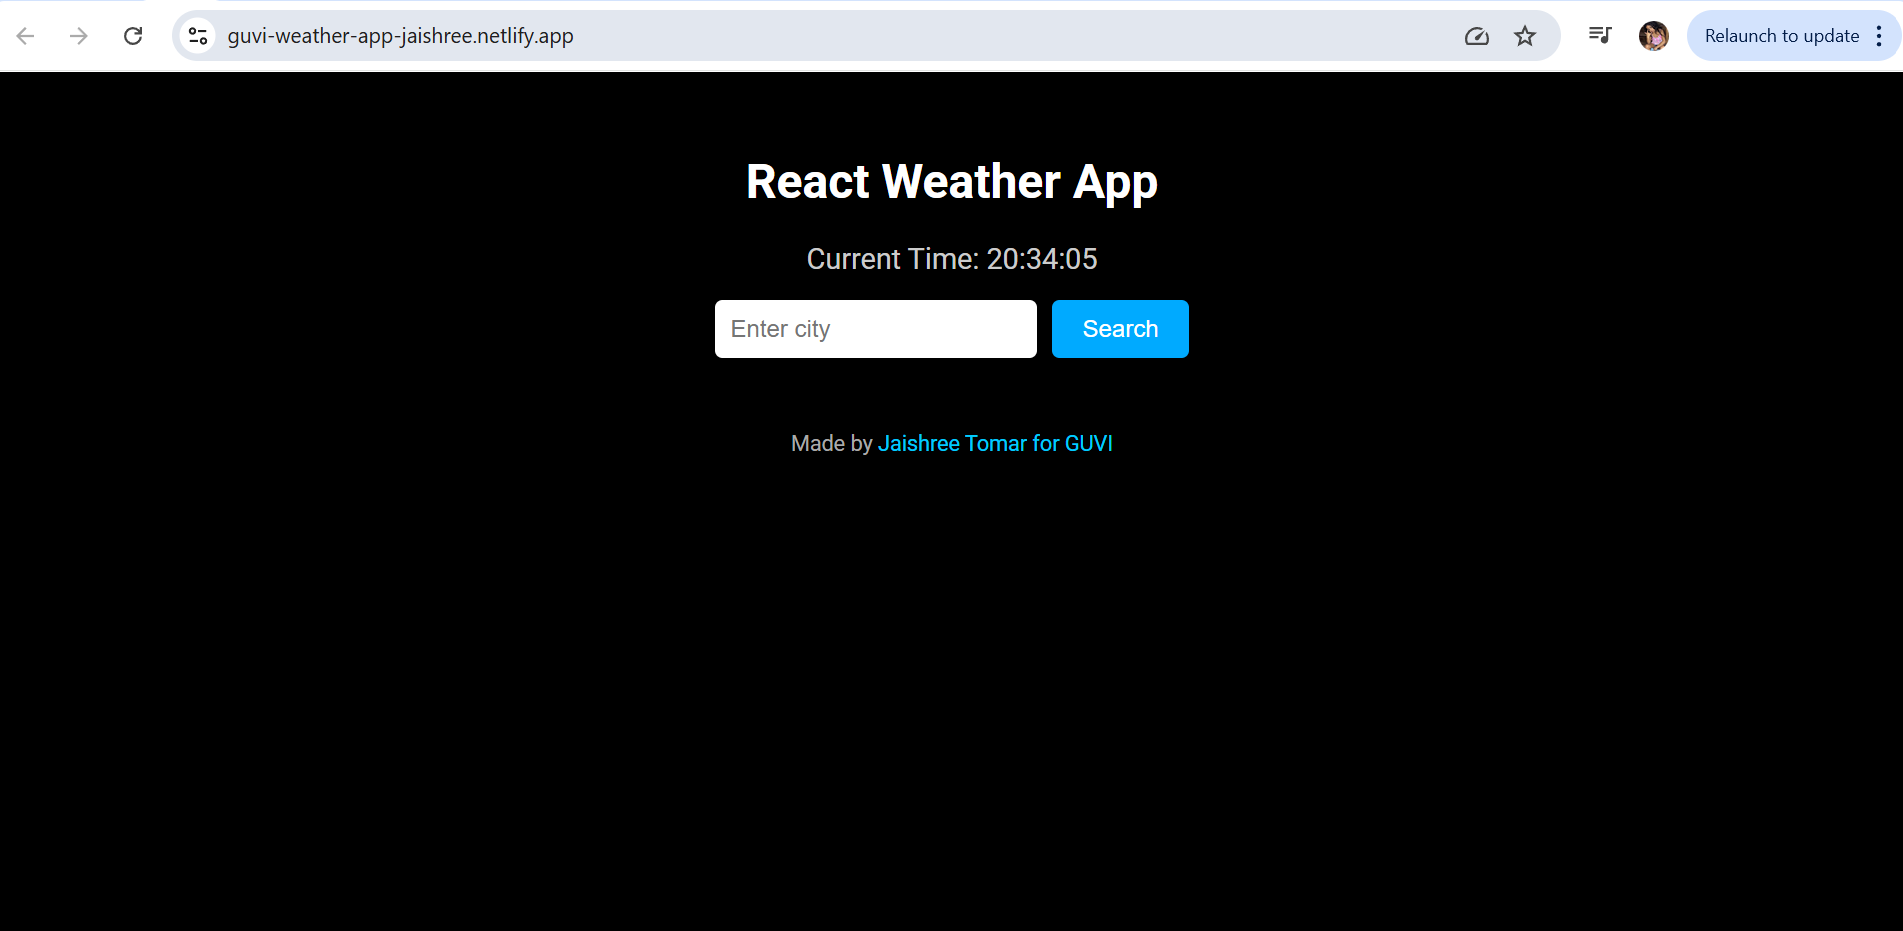
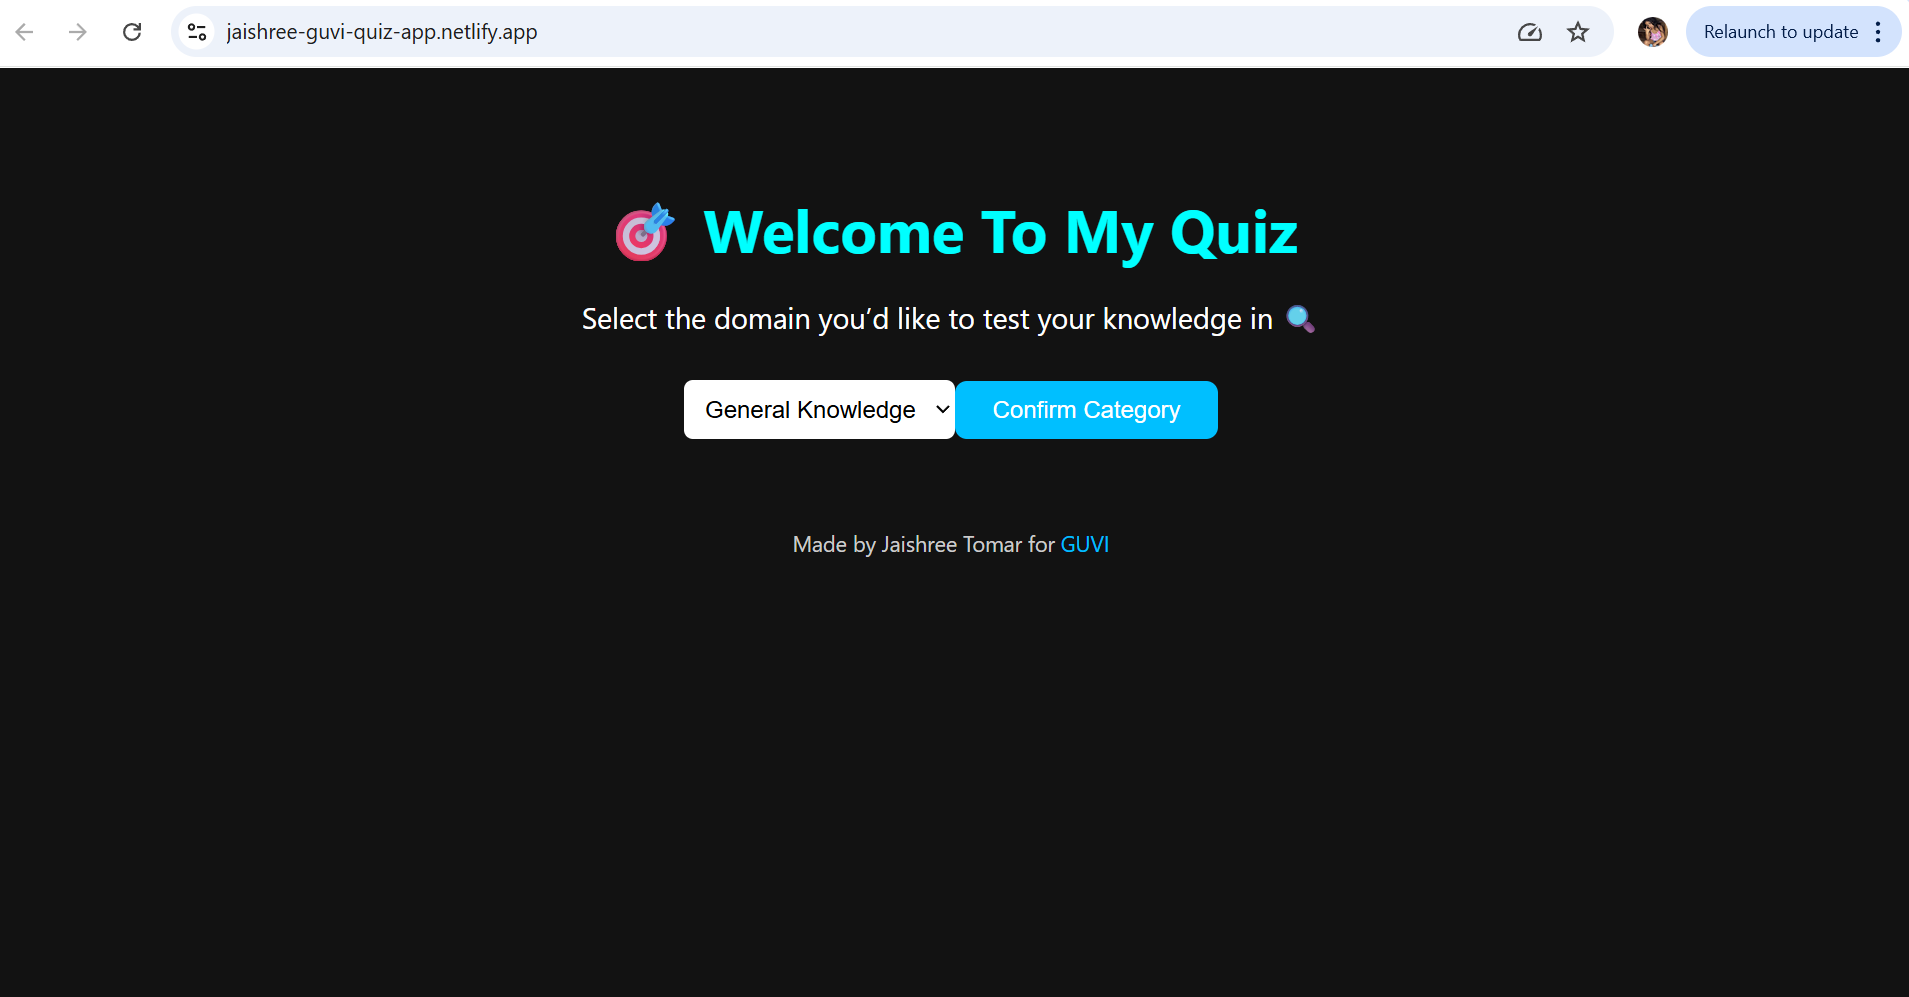
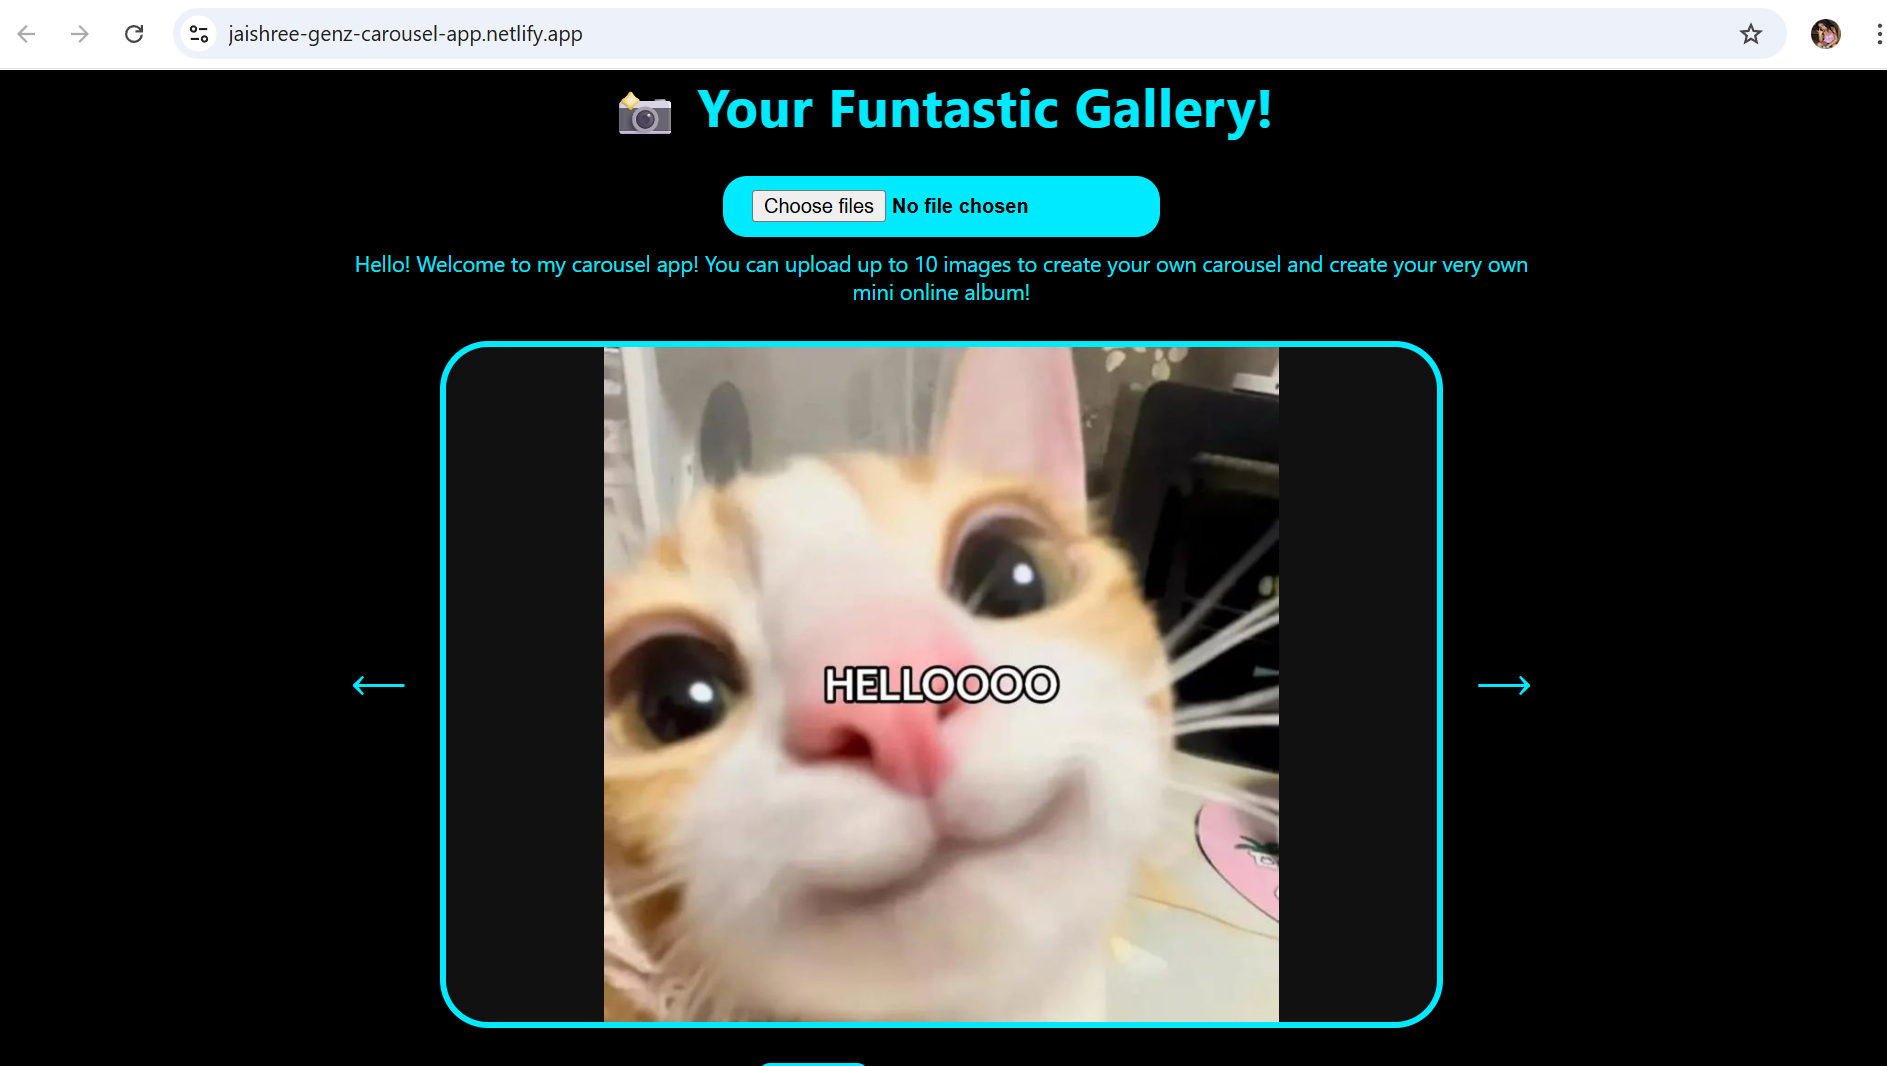
You can see a running version of this calculator on Netlify.
Screenshot:
Lesson 3: MCQs
1. What command creates a new React project using Create React App?
- A) npm install react-app
- B) npm start
- C) npx create-react-app <app-name>
- D) react new <app-name>
Answer: C (The npx create-react-app calculator command, as seen in the tutorial, sets up the project).
2. Which React hook is used to add state to a functional component?
- A) useEffect
- B) useState
- C) useContext
- D) useStateful
Answer: B (We used useState in App.js to track the display and operator).
3. In our calculator app, how do we handle a click on the “=” button?
- A) Reset the display to zero.
- B) Concatenate “=” to the display string.
- C) Perform the stored arithmetic operation using the previous value and current display, then show the result.
- D) Change the operator to “=”.
Answer: C (In the handleClick function, when value is "=", we compute the result of the pending operation and update display).
4. What CSS property is used in our code to make the button grid layout?
- A) display: flex;
- B) display: grid;
- C) float: left;
- D) table-layout: fixed;
Answer: B (We used CSS Grid with display: grid; grid-template-columns: repeat(4, 1fr); for the .keypad container).
Lesson 4: Resources
Want to master ReactJS and build your portfolio by creating web apps like this? Check out GUVI’s IIT-M Pravartak Certified ReactJS Self-Paced Course, where you can master the art of building interactive user interfaces and web applications.
Additionally, if you want to understand how React works in a Full Stack environment, consider enrolling in GUVI’s IIM-M Pravartak Certified Full Stack Development Course, where you’ll learn React, Node.js, MongoDB, and more with hands-on projects, expert mentorship, and placement support. Perfect for beginners and professionals looking to upskill.


