Conclusion of the Project
Conclusion of Temperature Converter Project
To wrap up, this lesson reflects on everything you've learned, from React fundamentals to deployment. You’ll see a preview of the live app, test your knowledge with quick MCQs, and get suggestions for where to go next in your learning journey. It’s the final checkpoint before you start building even bigger things.
Learning Outcome
Through this project, we achieved several important learning outcomes:
- React Basics in Practice: You learned how to set up a React project from scratch and create functional components. We used React’s state hook (useState) to manage dynamic data and saw how component re-rendering works in response to state changes.
- Handling User Input: By building the form with an input field and dropdowns, you practiced handling user input and events in React (onChange for inputs and onClick for the button). We also implemented basic validation logic to improve user experience (e.g., checking for numeric input and differing units).
- Implementing Logic: We translated real-world formulas for temperature conversion into a working JavaScript implementation. This improved your ability to use conditional logic and mathematical operations in code.
- Project Structure and Styling: You organized code by using a separate component and applied CSS to style the application, reinforcing the importance of keeping structure and presentation concerns separated. The styling was kept simple and done with plain CSS, showing that you don’t always need a CSS framework for basic designs.
- Deployment Workflow: Importantly, you learned how to deploy a React application. Using GitHub for version control and Netlify for hosting, you set up continuous deployment. This means you not only built a project but also made it available as a live demo, which is great for sharing with others or adding to your portfolio.
Overall, this project took you through the entire lifecycle of development: from concept and coding to testing and deployment. You now have a live temperature converter app to show for your work, and the skills gained here will be applicable to many other React projects you might build in the future.
Live Demo & Output Screenshot
You can try out the live application yourself! The Temperature Converter is deployed on Netlify.
Live Link - Temperature Converter Application
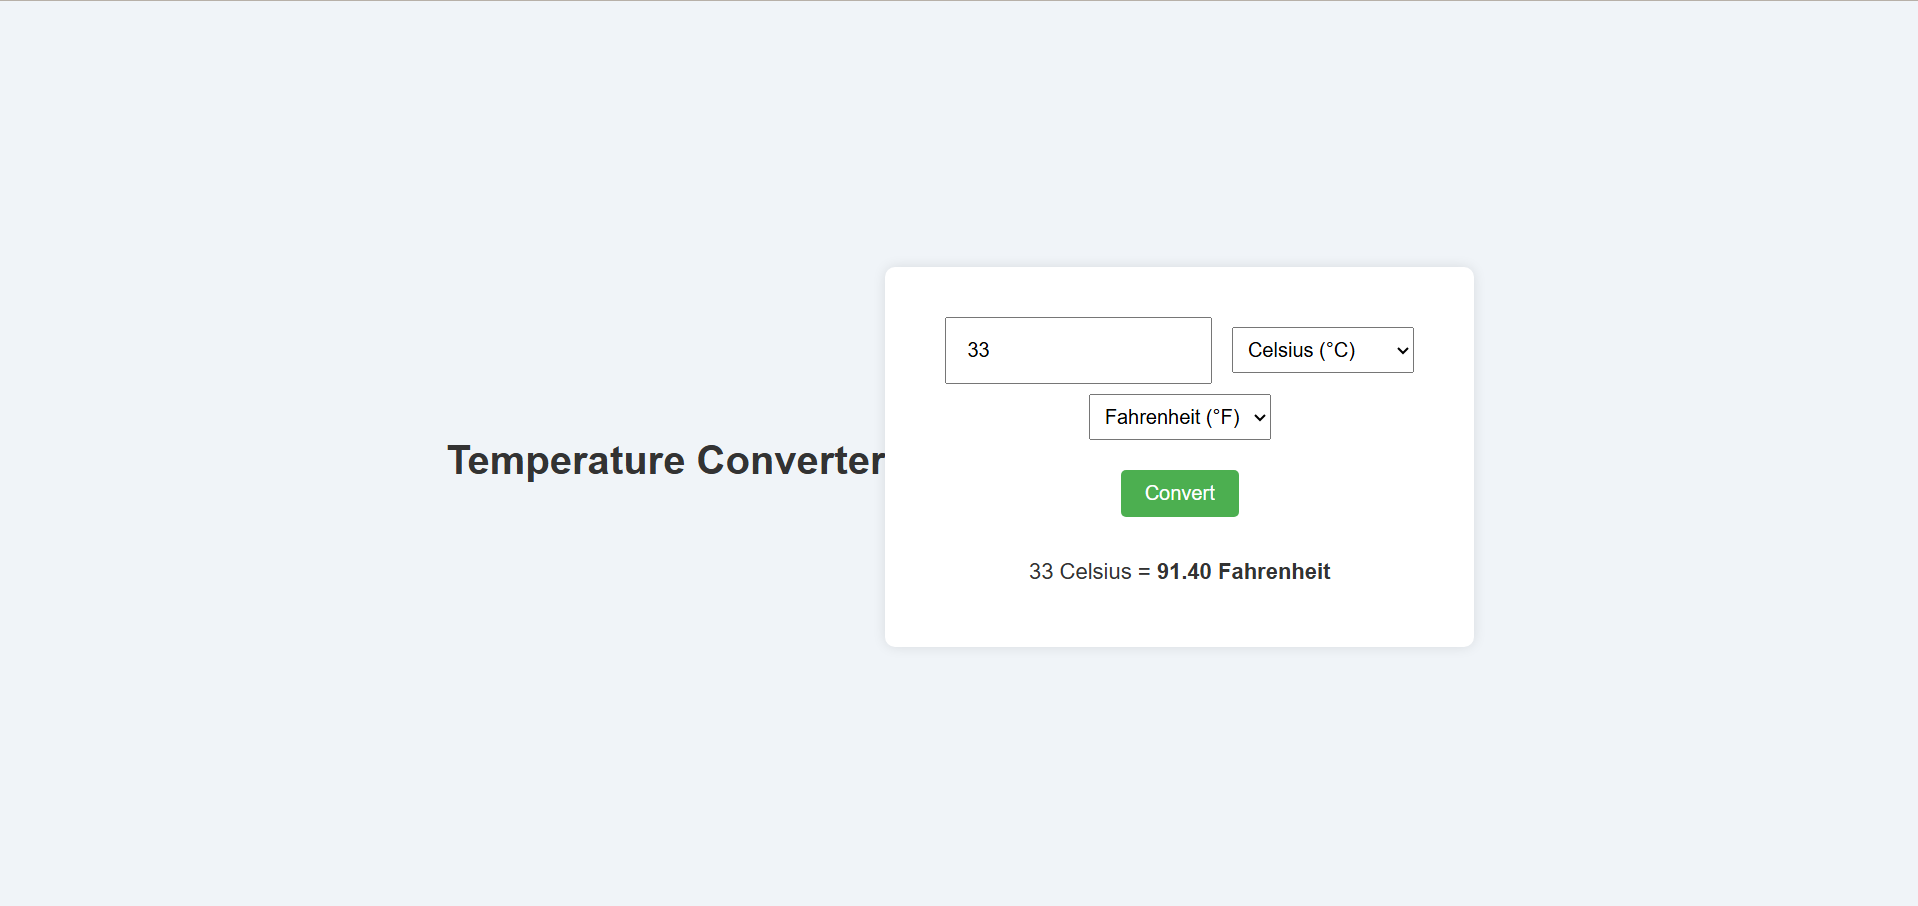
Below is a screenshot of the final output of our Temperature Converter application, as hosted on Netlify. It shows the user interface with the input field, unit selectors, and the result display after a conversion.
Multiple-Choice Questions (MCQs)
Test your understanding of the concepts and implementation with a few quick questions:
- What command is used to create a new React application?
a. npm install react
b. npx create-react-app
c. react init
d. npm new react-app
Answer: b. npx create-react-app is the CLI command (with a specified app name) to set up a new React project with Create React App. - Which React Hook did we use to manage the state of the input temperature and selected units?
a. useEffect
b. useRef
c. useState
d. useContext
Answer: c. useState is the Hook we used to create state variables for input value, units, result, and error in our functional component. - If a user wants to convert a temperature from Kelvin to Celsius, which formula is correct?
a. °C = K + 273.15
b. °C = (K × 9/5) + 32
c. °C = K – 273.15
d. °C = (K – 32) × 5/9
Answer: c. To convert Kelvin to Celsius, subtract 273.15 from the Kelvin value (C = K – 273.15). - What will the app display if the user tries to convert 0 Celsius to Kelvin?
a. 273.15 Kelvin
b. -273.15 Kelvin
c. 255.37 Kelvin
d. An error (because 0 is an invalid input)
Answer: a. 0°C is equal to 273.15 K. The app would display “0 Celsius = 273.15 Kelvin” as the result. - Which platform did we use to deploy the React application, and what is one advantage of using it?
a. GitHub Pages – it requires no build step.
b. Heroku – it allows running server-side code for React.
c. Netlify – it provides continuous deployment and a public URL easily.
d. AWS EC2 – it is the simplest to set up for front-end apps.
Answer: c. We used Netlify, which offers easy continuous deployment from GitHub and gives a public URL for our app with minimal configuration.
These questions cover the creation of the app, React Hooks, conversion knowledge, and deployment platform – reinforcing what you learned.
Course and Next Steps
Want to master ReactJS and build your portfolio by creating web apps like this? Check out GUVI’s IIT-M Pravartak Certified ReactJS Self-Paced Course, where you can master the art of building interactive user interfaces and web applications.
Additionally, if you want to understand how React works in a Full Stack environment, consider enrolling in GUVI’s IIM-M Pravartak Certified Full Stack Development Course, where you’ll learn React, Node.js, MongoDB, and more with hands-on projects, expert mentorship, and placement support. Perfect for beginners and professionals looking to upskill.


