Conclusion of the Project
Conclusion of Random Password Generator Project
Now that the app is built and live, let’s wrap it up. This final module summarizes what you’ve learned, shares the live link, includes a project screenshot, and tests your understanding with a few MCQs.
Learning Outcome of the Project
Through this project, we covered the full cycle of developing a small React application:
- React Setup: You learned how to use Create React App to bootstrap a project and the basic project structure (with components, index.js, etc.).
- React Basics: We reinforced key React concepts like components, state, and event handling. You saw how the useState hook allows us to manage dynamic data and update the UI accordingly.
- JavaScript Logic: We wrote a custom function to generate random passwords, practicing the use of JavaScript’s random functions and string manipulation. This strengthened understanding of algorithms and problem-solving in JS.
- UI Implementation: By building the form (inputs and checkboxes) and linking them to state, you learned how to create controlled components in React and make the interface interactive.
- Copy to Clipboard: Implementing the clipboard copy feature gave insight into Web APIs and how to give feedback to the user after an action (using conditional rendering for the success message).
- Deployment: Finally, you learned how to deploy a React application to Netlify (via GitHub). Now you have a live web application that you (and others) can use. You also learned how continuous deployment can be set up so that any future changes can go live with minimal effort.
Overall, this project helped you practice building a complete application from scratch – from concept to code to deployment.
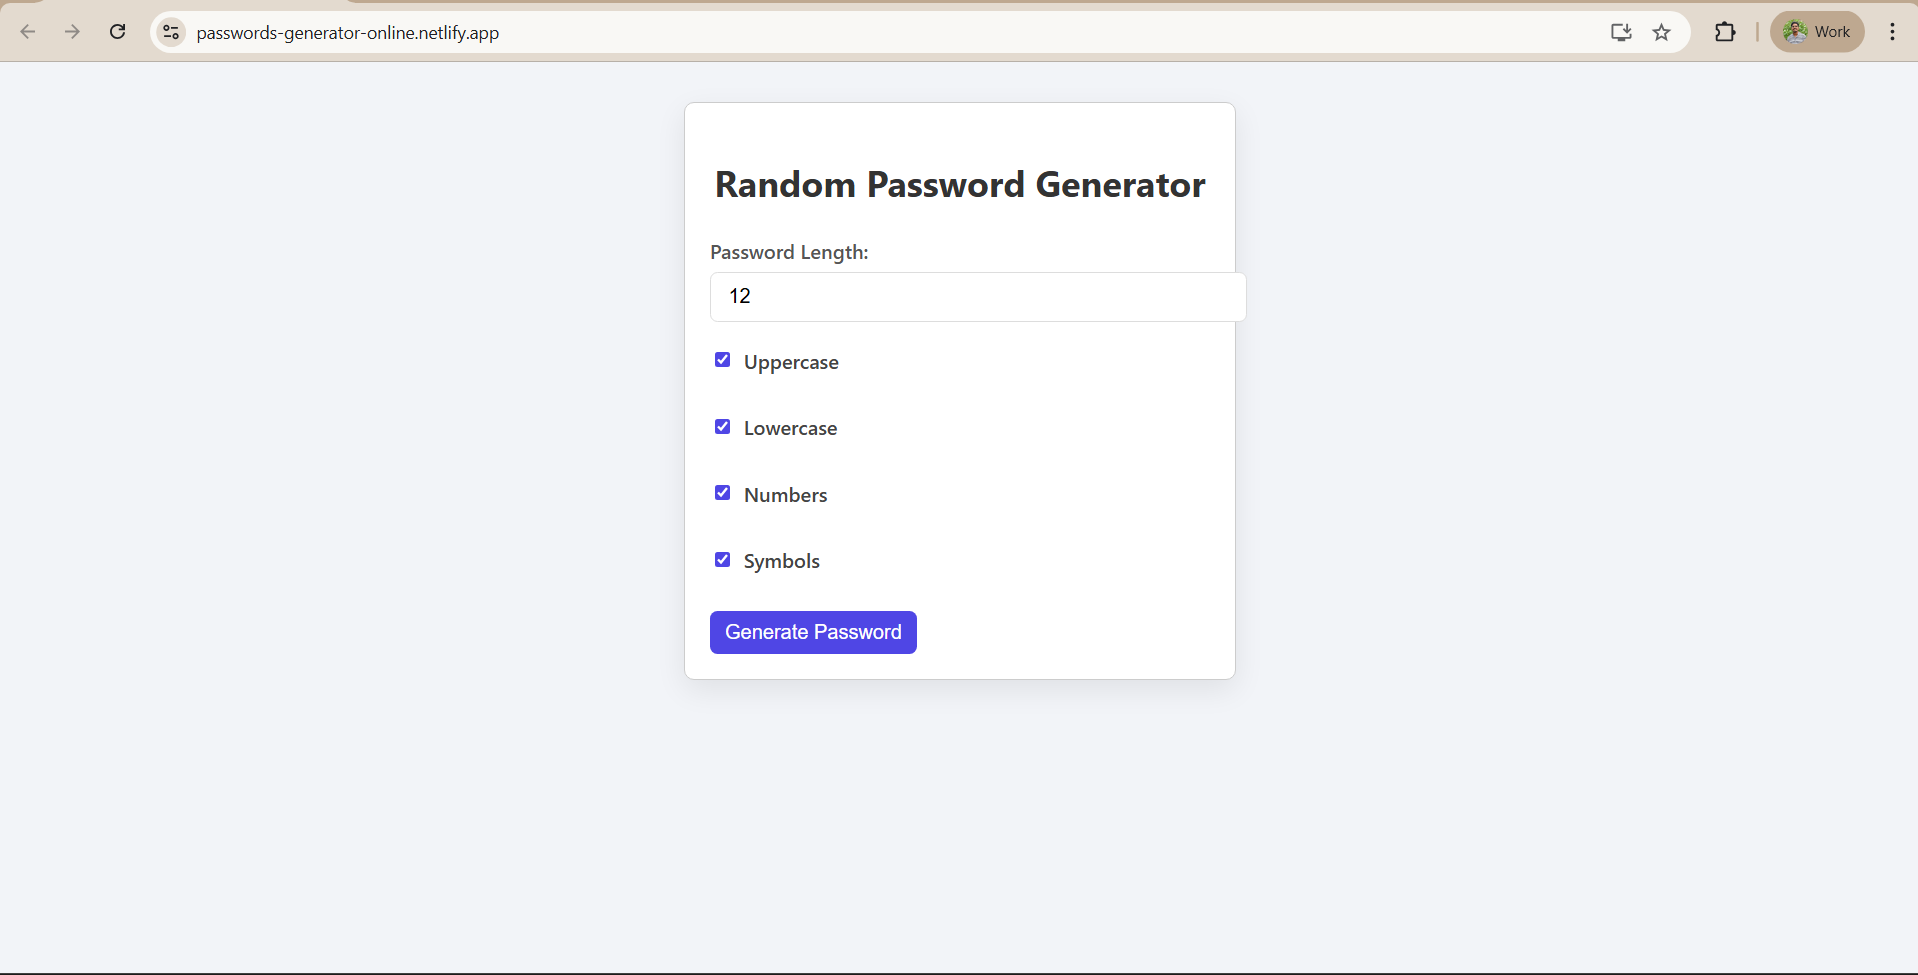
Live Demo & Output Screenshot
You can try out the live project here: Random Password Generator Live Demo. Visit the link and generate some passwords to see it in action.
As shown in the above screenshot, the application provides a simple interface where you can adjust the password criteria and generate a password.
Multiple Choice Questions (MCQs)
Test your understanding of the project with a few quick questions:
- Which React Hook did we use to manage component state in this project?
A. useEffect
B. useState
C. useContext
D. useReducer
Answer: B. useState (We used useState to track dynamic values like password, length, and checkbox states inside the functional component.) - What does the Math.random() function do in the context of our password generator?
A. It returns a random character from a string.
B. It generates a random number between 0 and 1, used to pick random indices.
C. It shuffles the characters in the password.
D. It converts a string to a random number.
Answer: B. It generates a random number between 0 and 1, used to pick random indices (We multiply it with the charset length to randomly select characters for the password). - Which of the following is NOT a feature we implemented in the Random Password Generator?
A. Choosing the length of the password.
B. Toggling inclusion of symbols in the password.
C. Saving generated passwords to a database.
D. Copying the generated password to the clipboard.
Answer: C. Saving generated passwords to a database (The app is frontend-only and does not involve any database operations.) - What is the purpose of running npm run build before deploying the app?
A. To start the development server on Netlify.
B. To run tests on the React app.
C. To generate an optimized production-ready version of the app in the build folder.
D. To install the Netlify CLI for deployment.
Answer: C. To generate an optimized production-ready version of the app in the build folder (This prepares static files (HTML, CSS, JS) that can be hosted on platforms like Netlify.) - After deploying to Netlify via GitHub, how do you update the live site with new changes?
A. Re-run npm run build on Netlify’s server.
B. Commit and push changes to the GitHub repository’s main branch, Netlify auto-deploys the updates.
C. Manually drag and drop the updated source files to Netlify.
D. You cannot update once deployed, you must create a new site for changes.
Answer: B. Commit and push changes to the GitHub repository’s main branch, Netlify auto-deploys the updates (Netlify watches your GitHub repo and rebuilds the site automatically when it detects changes.)
Further Learning (Course Recommendations)
Want to master ReactJS and build your portfolio by creating web apps like this? Check out GUVI’s IIT-M Pravartak Certified ReactJS Self-Paced Course, where you can master the art of building interactive user interfaces and web applications.
Additionally, if you want to understand how React works in a Full Stack environment, consider enrolling in GUVI’s IIM-M Pravartak Certified Full Stack Development Course, where you’ll learn React, Node.js, MongoDB, and more with hands-on projects, expert mentorship, and placement support. Perfect for beginners and professionals looking to upskill.


