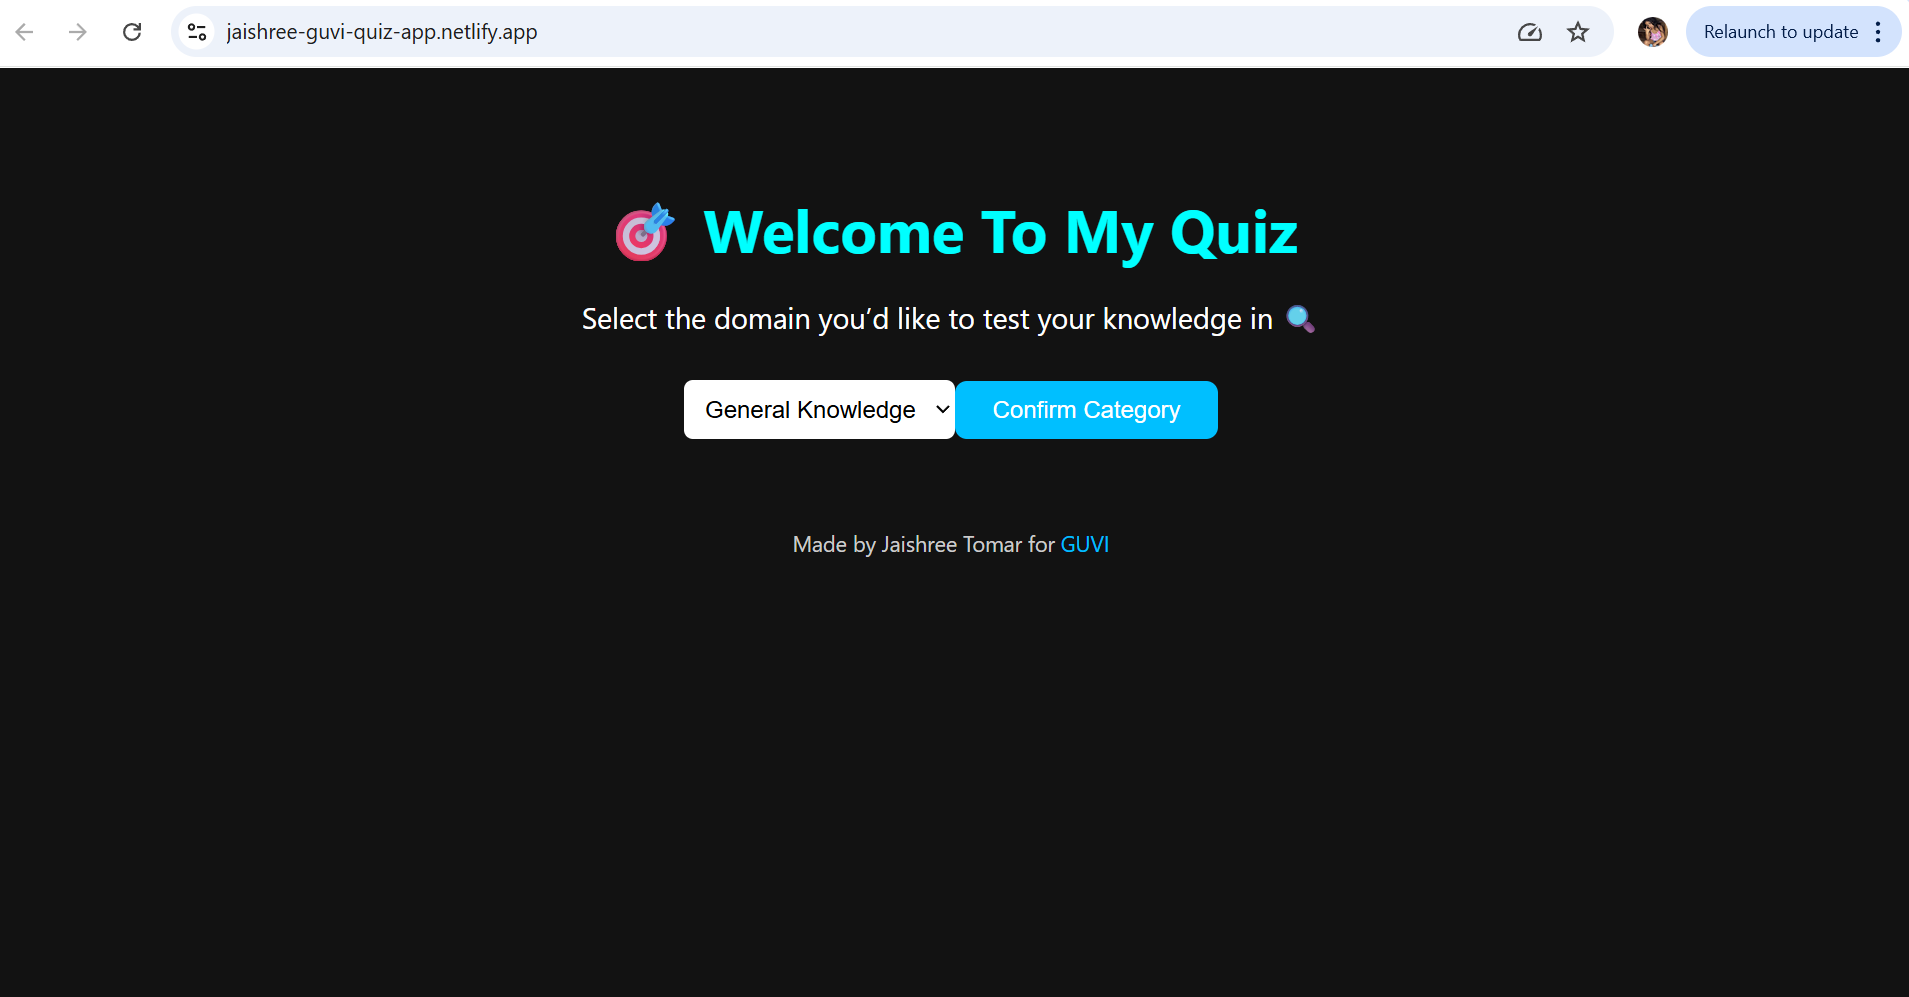
Deploying The Project
To make the project live, first build the production bundle by typing the following command in the command prompt:
npm run build
This creates optimized static files in a build/ folder.
Prerequisites for Netlify
- You have a working React app (e.g., random-joke-generator/)
- You've successfully run
npm run build - You have a free Netlify account
- You have the project in a GitHub repo (refer the previous lesson)
Go to Netlify and log in
- Click “Add new site” → “Import an existing project”
- Choose GitHub and connect your account
- Select the repository (e.g. random-joke-generator)
Configure Build Settings
When you deploy your React app (whether via GitHub or drag & drop), make sure Netlify settings are:
Setting | Value |
| Build Command | npm run build |
| Publish directory | build |
You can find this in:
Netlify Dashboard → Site Settings → Build & Deploy → Build Settings
Click Deploy Site
Netlify will build and host your site
After a minute or two, you’ll get a live URL like:
https://random-joke-generator.netlify.app/
You can change the site name if you want by going to Site Settings > Change site name.


